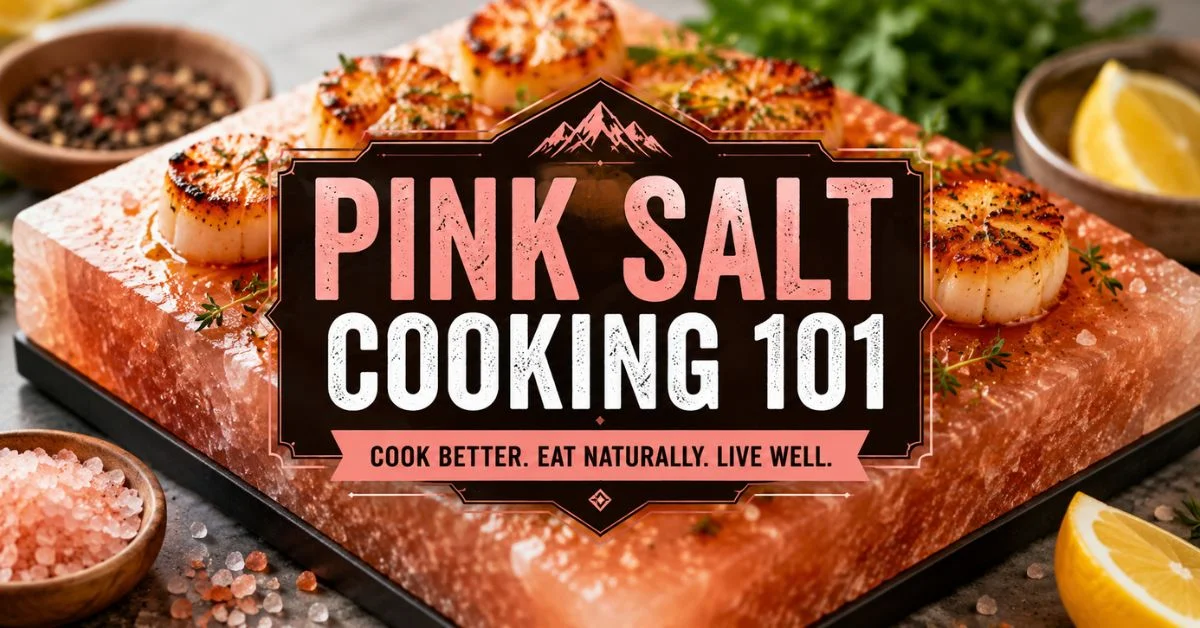
Pink Salt Cooking 101: Easy Guide & Kitchen Tips
Pink Himalayan salt has become a favorite in many kitchens, and it is easy to see why. From seasoning everyday meals to cooking on a salt block, this natural salt adds both flavor and style to home cooking. But using pink salt the right way can make a big difference in taste, texture, and even the cooking experience itself.
This Pink Salt Cooking 101 guide will help you understand how to cook with pink salt in simple and practical ways. Whether you are using fine pink salt, coarse crystals, or a Himalayan salt block, learning the basics can help you get better results in the kitchen without feeling overwhelmed.
One reason many home cooks love pink salt is its mild, rich flavor. Unlike regular table salt, pink Himalayan salt has a more natural taste that works well with vegetables, meats, seafood, and even drinks. A heated salt block can also create a beautiful sear while lightly seasoning food at the same time.
If you are new to cooking with pink salt, do not worry. Many people have questions about how to heat a salt block safely, which foods work best, and how much salt to use. This guide covers everything in an easy step-by-step way so you can cook with confidence.
You will also learn helpful tips for cleaning, storing, and maintaining a Himalayan salt block to make it last longer. Plus, we will share smart cooking ideas and healthy meal inspiration that fit into a balanced lifestyle.
Cooking with pink salt is not only about following food trends. It is about adding simple flavor, trying new cooking methods, and making everyday meals feel more special. Once you learn the basics, you may find that pink salt becomes one of your favorite kitchen essentials.
Pink Salt Cooking 101 Recipe
Golden seared scallops served on a hot Himalayan salt block create a simple meal with bold flavor and a beautiful restaurant-style finish. The heated salt block gives the scallops a light seasoning while creating a crisp golden crust on the outside and a tender texture inside. This easy pink salt cooking method is perfect for special dinners, healthy meals, or anyone wanting to try Himalayan salt block cooking at home.
Why You’ll Love This Recipe
- Easy beginner-friendly Himalayan salt block recipe
- Naturally gluten-free and high in protein
- Creates a rich golden sear without heavy sauces
- Adds gentle mineral flavor from pink Himalayan salt
- Perfect for quick dinners or impressive entertaining
Ingredients
- 8 large dry sea scallops
- 1 teaspoon avocado oil or grapeseed oil
- 1 teaspoon coarse pink Himalayan salt
- 1 small lemon, zested and cut into wedges
- 1 tablespoon fresh parsley, finely chopped
- 1 teaspoon fresh chives, finely chopped
- Freshly ground black pepper to taste
Instructions
1. Prepare the Salt Block
If your Himalayan salt block is new, season it first by heating it slowly and lightly rubbing it with oil. Always allow the block to cool fully before using it again.
2. Heat the Salt Block Slowly
Place the salt block on a grill or stovetop burner. Start on low heat and slowly increase the temperature over 20 to 30 minutes. Proper slow heating helps prevent cracks and keeps the block safe to use.
The block is ready when small drops of water instantly sizzle and disappear from the surface.
3. Dry the Scallops Well
Pat the scallops completely dry with paper towels. Removing extra moisture helps create a better golden crust during cooking.
4. Sear the Scallops
Carefully place the scallops onto the hot salt block. Leave a little space between each one and avoid overcrowding.
Cook for about 2 minutes per side until the scallops develop a deep golden-brown color and the centers turn slightly opaque.
5. Add Fresh Finishing Touches
Transfer the scallops to serving plates. Sprinkle with coarse pink salt, lemon zest, parsley, chives, and black pepper. Serve immediately with fresh lemon wedges.
Helpful Pink Salt Cooking Tips
- Never heat a salt block too quickly
- Use dry scallops for the best sear
- Avoid adding extra oil directly onto the block
- Let the salt block cool naturally before cleaning
- Wipe gently with a damp cloth instead of soaking in water
Serving Ideas
These pink salt seared scallops pair well with:
- Roasted vegetables
- Zucchini noodles
- Garlic spinach
- Light salads
- Cauliflower rice
Storage and Cleaning Tips
Allow the Himalayan salt block to cool completely before cleaning. Gently scrape away food bits and wipe the surface with a barely damp cloth. Dry the block over low heat for a few minutes before storing it in a dry place.
Nutrition Information
- Calories: 180
- Protein: 28g
- Carbohydrates: 6g
- Fat: 5g
- Fiber: 1g
- Sodium: 980mg
This easy Pink Salt Cooking 101 recipe is a great way to enjoy simple ingredients with bold flavor while learning how to safely cook on a Himalayan salt block.
Understanding Your Pink Salt: Block vs. Grain
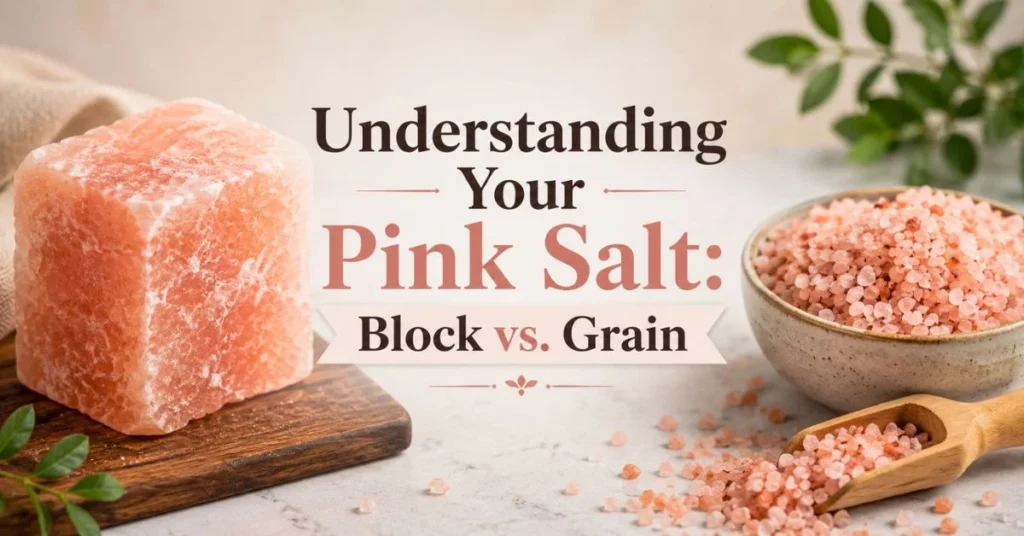
Learning the difference between a Himalayan salt block and pink salt grains can completely change the way you cook. While both come from natural pink Himalayan salt, they serve very different purposes in the kitchen. Knowing when and how to use each one helps improve flavor, texture, and cooking results.
Many beginners think all pink salt works the same way, but choosing the right form is one of the most important parts of Pink Salt Cooking 101.
Himalayan Salt Block: Best for Cooking and Searing
A Himalayan salt block is mainly used as a cooking surface. Its thick crystal structure holds heat extremely well, making it perfect for grilling, searing, and serving hot foods.
When heated slowly, the salt block spreads heat evenly across the surface. This helps foods cook gently while adding a light salty flavor without needing extra seasoning.
Contrary to popular myths, the block does not deeply fill food with minerals during cooking. The real benefit comes from its steady heat retention and natural seasoning effect.
Why Salt Blocks Work So Well?
- Retain heat for a long time
- Create even cooking temperatures
- Add mild natural salt flavor
- Help form a crisp golden crust
- Can be used hot or chilled for serving
Seafood like shrimp and scallops cooks especially well on a hot pink salt block because the surface creates a beautiful sear while keeping the inside tender and juicy.
Best Foods for a Salt Block
- Scallops
- Shrimp
- Salmon
- Steak
- Chicken
- Vegetables
- Pineapple or peaches
Pink Salt Grains: Perfect for Finishing Dishes
Pink salt grains are commonly used as a finishing salt rather than a cooking surface. The crystals are larger and crunchier than regular table salt, giving food extra texture and a cleaner flavor.
A small sprinkle of coarse pink Himalayan salt can instantly brighten salads, roasted vegetables, fruit, or grilled meats.
Why Home Cooks Love Pink Salt Grains?
- Add crunch and texture
- Provide balanced salty flavor
- Work well on sweet and savory foods
- Dissolve more slowly than table salt
- Enhance presentation with natural pink color
The mild mineral taste of pink Himalayan salt also creates a smoother flavor compared to highly processed table salt.
Which Pink Salt Should You Choose?
Both forms of pink salt are useful, but they work best in different ways.
Use a Himalayan Salt Block For:
- Searing proteins
- Grilling foods
- Serving chilled appetizers
- Restaurant-style cooking presentations
Use Pink Salt Grains For:
- Finishing dishes
- Adding texture
- Everyday seasoning
- Garnishing vegetables, fruits, and desserts
Using both together can create the best balance of flavor and texture in your meals.
Simple Pink Salt Cooking Tip
If you are new to cooking with pink salt, start with coarse pink salt grains for everyday meals. Once you feel comfortable, try cooking on a Himalayan salt block for a fun and flavorful kitchen experience.
Essential Safety and Preparation Tips for Pink Salt Cooking
Before you start cooking on a Himalayan salt block, it is important to understand how to prepare and handle it safely. A salt block is strong, but it can crack if heated too quickly or cleaned the wrong way. Taking a few extra steps before cooking helps your block last longer and gives you better cooking results.
Many beginner mistakes happen because people skip the preparation process. Learning the proper safety steps is one of the most important parts of Pink Salt Cooking 101.
Why You Need to Season a New Salt Block?
A brand-new Himalayan salt block has a naturally porous surface. Without proper seasoning, food may stick during cooking, and the block can wear down faster over time.
Seasoning helps create a smoother cooking surface while protecting the block from damage caused by sudden heat changes.
How to Season a Himalayan Salt Block?
Follow these simple steps before using a new block for the first time:
- Place the salt block on a stovetop or grill over low heat.
- Warm it slowly for about 10 to 15 minutes.
- Lightly rub the surface with a thin layer of avocado oil or grapeseed oil.
- Continue heating slowly for a few more minutes.
- Repeat the oiling process two or three times.
- Allow the block to cool naturally before storing.
After seasoning, the surface may look slightly glossy. This helps create a better cooking surface for foods like scallops, shrimp, steak, and vegetables.
The Golden Rule: Heat Slowly to Prevent Cracking
The biggest danger to a Himalayan salt block is thermal shock. This happens when the outside of the block heats much faster than the inside, causing stress cracks or even breaking the slab completely.
Slow heating is the key to protecting your investment.
Safe Heating Method for Salt Blocks
- Start on very low heat
- Increase the temperature gradually every 5 minutes
- Heat the block over 20 to 30 minutes total
- Never place a cold block directly over high heat
- Avoid moving the hot block suddenly
Whether you are using a grill, stovetop, or oven, patience is extremely important.
Warning Signs Your Salt Block Is Too Hot
Pay attention while heating your Himalayan salt block. If you notice any of these signs, reduce the heat immediately:
- Loud popping sounds
- Deep cracking noises
- Large visible cracks
- Uneven heating spots
Small hairline marks can happen naturally over time, but sudden major cracks usually mean the block heated too fast.
Helpful Pink Salt Cooking Safety Tips
Always Keep the Block Dry
Moisture trapped inside the block can expand during heating and increase the risk of cracking.
Never Use Soap
Soap can soak into the salt and affect the flavor of future meals. Instead, wipe the block with a damp cloth after it cools completely.
Let the Block Cool Naturally
Do not place a hot salt block under cold water. Sudden temperature changes can break the block.
Store in a Dry Place
Wrap the cooled block in a clean towel or parchment paper to protect it from moisture.
Why Proper Preparation Matters?
Taking care of your Himalayan salt block improves both safety and cooking performance. A properly seasoned and slowly heated block creates better searing, more even cooking, and longer-lasting use.
Once you learn these simple preparation steps, cooking with pink salt becomes much easier, safer, and more enjoyable.
The Ultimate Temperature and Cooking Guide for Pink Salt
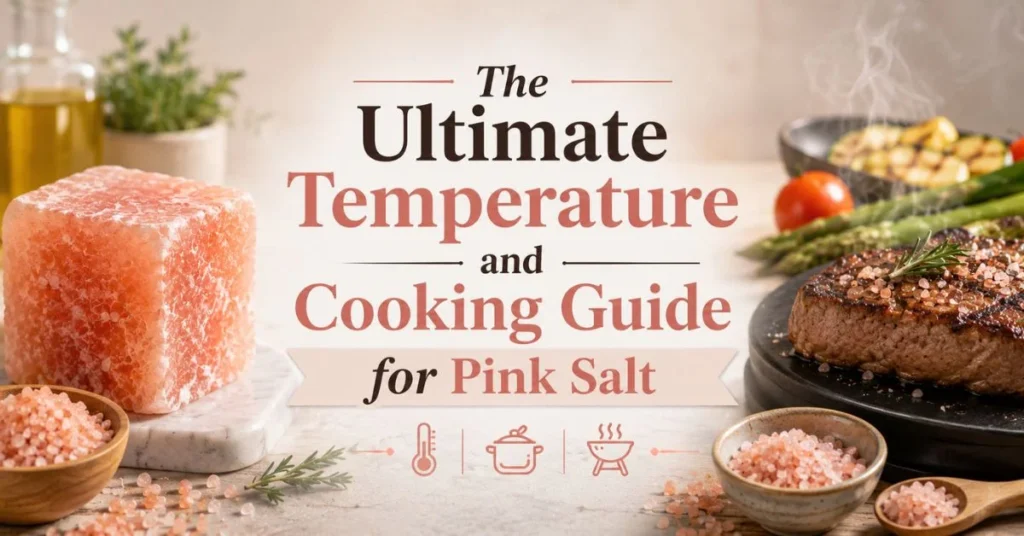
Getting the right temperature is one of the most important parts of successful pink salt cooking. A Himalayan salt block can cook food beautifully, but using the wrong heat level may lead to uneven cooking, sticking, or even damage to the block.
This easy Pink Salt Cooking 101 guide will help you understand the best temperatures, preparation tips, and cooking times for different foods.
Hot Cooking Applications for Himalayan Salt Blocks
Different foods cook best at different temperatures. Heating the salt block properly helps create a crisp texture, balanced seasoning, and even cooking results.
Recommended Salt Block Temperatures
| Food Item | Target Temperature | Helpful Prep Tip | Approximate Cooking Time |
|---|---|---|---|
| Scallops | 375–400°F | Pat completely dry | 2 minutes per side |
| Thin Steak | 400°F | Bring to room temperature | 2–3 minutes per side |
| Shrimp | 375°F | Devein and dry well | 2 minutes per side |
| Pork Chops | 375–400°F | Pat dry before cooking | 5–6 minutes total |
| Halloumi Cheese | 350–375°F | Slice and dry lightly | 3 minutes per side |
| Vegetables | 350°F | Light oil coating | 4–6 minutes |
| Pineapple or Peaches | 325–350°F | Slice evenly | 2–3 minutes per side |
Why Dry Food Matters on a Salt Block?
One of the biggest mistakes beginners make is placing wet food directly onto the salt block.
Extra moisture causes food to steam instead of sear. This prevents the beautiful golden crust that makes Himalayan salt block cooking so special.
Before Cooking Always:
- Pat seafood and meat dry with paper towels
- Avoid heavy marinades
- Use very little oil
- Let meats rest at room temperature before cooking
Dry surfaces help foods caramelize faster while improving flavor and texture.
Using a Pink Salt Block for Cold Serving
A Himalayan salt block is not only for hot cooking. It also works beautifully as a chilled serving platter.
After cleaning and drying the block, place it in the refrigerator or freezer for a few hours. The cold surface keeps food fresh while adding a light salty touch.
Best Foods for a Chilled Salt Block
- Sushi and sashimi
- Oysters and seafood
- Fresh fruit platters
- Cheese boards
- Cold desserts
- Melon and berries
The chilled surface keeps food cool naturally without watering it down like ice.
How to Chill a Salt Block Safely?
Before placing the block in the freezer:
- Make sure the block is fully dry
- Wrap it tightly in plastic wrap or a sealed bag
- Chill slowly to avoid moisture buildup
- Remove it a few minutes before serving
This helps prevent cracks while keeping the surface perfectly cold for serving.
Simple Temperature Tips for Better Results
Low to Medium Heat Works Best
Extreme heat is rarely needed. Slow and steady heating gives better cooking control.
Use an Infrared Thermometer if Possible
Checking the surface temperature helps avoid undercooking or overheating the salt block.
Avoid Sudden Temperature Changes
Never move a hot block directly into a cold area or place a chilled block over high heat immediately.
Why Temperature Control Matters?
Proper temperature control helps your Himalayan salt block last longer while improving flavor, texture, and safety. Whether you are searing steak, cooking shrimp, or serving chilled fruit, using the right heat level makes every dish more successful.
Pro Techniques for Better Pink Salt Cooking Results
Cooking on a Himalayan salt block is more than simply placing food on a hot surface. The best results come from controlling heat, moisture, and timing carefully. Small techniques can make a huge difference in flavor, texture, and presentation.
These simple Pink Salt Cooking 101 tips will help you create restaurant-style meals at home with more confidence.
How to Get the Perfect Sear on a Salt Block?
One of the biggest mistakes people make when cooking on a pink salt block is using too much oil. Unlike a regular frying pan, a salt block works best with very little or no added oil directly on the surface.
Too much oil can create smoke and reduce the direct contact needed for proper searing.
The Best Way to Sear Food on a Salt Block
Follow these easy steps for a crisp golden crust:
- Heat the salt block slowly until fully hot
- Test the surface with a few water drops
- If the droplets sizzle and disappear quickly, the block is ready
- Place dry food directly onto the surface
- Avoid overcrowding the block
- Let the food cook undisturbed before flipping
This method helps proteins develop a rich caramelized crust while keeping the inside tender and juicy.
Why Dry Food Creates a Better Crust?
Moisture is the enemy of a good sear.
Wet seafood or meat releases steam onto the salt block, making food softer instead of crisp and golden.
Before Cooking Always:
- Pat scallops, shrimp, steak, or chicken completely dry
- Remove excess marinade
- Let meat rest at room temperature for a few minutes
- Avoid adding butter too early
Dry surfaces allow the natural heat of the Himalayan salt block to create deeper flavor and better texture.
Cook in Small Batches for Even Heat
A salt block holds heat well, but overcrowding can cool the surface too quickly.
Cooking smaller batches helps:
- Maintain even temperature
- Improve browning
- Prevent steaming
- Create better flavor
This is especially important for seafood and thin cuts of meat.
Using Pink Salt Grains the Right Way
Coarse pink Himalayan salt grains work best as a finishing touch after cooking. Adding them at the end preserves their crunch and balanced flavor.
Many people use pink salt only during cooking, but finishing with salt grains can make dishes taste fresher and more flavorful.
Best Foods for Pink Salt Finishing
- Avocado toast
- Fresh tomatoes
- Roasted vegetables
- Pumpkin soup
- Grilled steak
- Dark chocolate desserts
- Caramel treats
- Cocktail rims
The crunchy texture and mild mineral flavor add extra depth without overpowering the dish.
Creative Ways to Use Pink Salt Grains
Add Texture to Desserts
A light sprinkle over dark chocolate or brownies creates a delicious sweet-and-salty balance.
Upgrade Fresh Fruit
Pink salt pairs surprisingly well with watermelon, pineapple, mango, and citrus fruits.
Enhance Drinks
Try using coarse pink salt around the rim of margaritas or fresh lemonade for a unique flavor twist.
Simple Pro Tip for Beginners
If you are just starting with Himalayan salt cooking, focus on two things first:
- Heat the block slowly
- Keep food surfaces dry
These two habits alone can dramatically improve your results and help you avoid most beginner mistakes.
With practice, pink salt cooking becomes an easy and enjoyable way to add flavor, texture, and creativity to everyday meals.
Cleaning, Troubleshooting, and Long-Term Care

A Himalayan salt block can last for years if you care for it properly. Since pink salt is a natural material, it needs gentle cleaning and careful storage to stay strong and safe for cooking.
Many people accidentally damage their salt blocks by using too much water or heating them incorrectly after cleaning. Learning the right maintenance steps is an important part of Pink Salt Cooking 101.
How to Clean a Himalayan Salt Block Properly?
Cleaning a pink salt block is simple, but it must be done carefully. Unlike regular cookware, salt blocks should never soak in water because salt naturally dissolves over time.
Easy Salt Block Cleaning Steps
- Allow the block to cool completely
- Use a plastic scraper to remove food bits
- Wipe the surface gently with a barely damp cloth or sponge
- Avoid using soap or strong cleaners
- Dry the block by warming it on low heat for a few minutes
This method helps remove moisture while protecting the natural salt surface.
Why Dishwashers and Soap Damage Salt Blocks?
Dishwashers are one of the fastest ways to ruin a Himalayan salt block.
Hot water, steam, and detergent slowly dissolve the salt and weaken the structure. Strong soaps can also leave unwanted flavors behind that affect future meals.
Never Do These Things
- Do not soak the block in water
- Do not use dish soap
- Do not place it in the dishwasher
- Do not scrub aggressively with metal tools
Gentle care helps preserve the block’s natural seasoning and texture.
Common Salt Block Problems and Easy Fixes
Even with proper care, small issues can happen over time. Most problems are easy to manage if caught early.
My Salt Block Cracked
Small surface cracks are common and do not always mean the block is ruined.
If the crack stays stable and does not spread during heating, you can usually continue using the block safely.
Tips for Cracked Salt Blocks
- Heat slowly every time
- Avoid sudden temperature changes
- Do not place pressure on cracked areas
- Inspect the block before cooking
Large deep cracks may mean the block should no longer be heated.
How to Remove Stains from a Salt Block?
Over time, oils and foods may leave dark marks on the surface. This is normal after repeated use.
Simple Natural Cleaning Method
- Sprinkle coarse pink salt onto the surface
- Rub gently with a lemon wedge
- Wipe with a damp cloth
- Dry thoroughly over low heat
This can help brighten the surface naturally without damaging the salt.
Why Food May Stick to the Surface?
If food starts sticking badly, your salt block may need to be seasoned again.
Re-curing helps seal tiny pores that develop after repeated cooking sessions.
Signs Your Block Needs Re-Seasoning
- Food sticks frequently
- Surface looks rough or dry
- Cooking becomes uneven
Simply repeat the slow heating and light oil seasoning process to refresh the block.
Choosing a Quality Himalayan Salt Block
Not all pink salt blocks are made the same. A good-quality block will last longer and heat more evenly.
What to Look For
- Thick solid construction
- Smooth flat surface
- Minimal visible cracks
- Food-grade Himalayan salt
- Even pink coloring
Cheaper blocks may crack faster or wear down more quickly after repeated use.
Best Storage Tips for Long-Term Use
Store your Himalayan salt block in a cool, dry place away from humidity.
Helpful Storage Tips
- Wrap in parchment paper or a clean towel
- Avoid damp cabinets
- Keep away from direct moisture
- Store flat to reduce stress cracks
Proper storage helps your block stay strong and ready for future cooking.
Final Care Tip
The secret to long-lasting pink salt cooking tools is simple: heat slowly, clean gently, and keep moisture away. With proper care, your Himalayan salt block can become one of the most unique and useful tools in your kitchen.
Selecting Your Tools: A Smart Buyer’s Guide
Choosing the right pink Himalayan salt products can make cooking easier, safer, and more enjoyable. Not all salt blocks and salt grains offer the same quality, so knowing what to look for helps you avoid wasting money on products that crack quickly or lack flavor.
This simple Pink Salt Cooking 101 buying guide will help you pick the best Himalayan salt block and pink salt grains for your kitchen.
How to Choose a Quality Himalayan Salt Block?
A good Himalayan salt block should feel solid, thick, and evenly shaped. Higher-quality blocks heat more evenly, last longer, and are less likely to crack during cooking.
Look for the Right Thickness
Thickness plays a big role in performance.
For best results, choose a salt block that is at least:
- 1.5 inches thick
- Flat and evenly cut
- Heavy with minimal weak spots
Thin blocks heat unevenly and may break more easily during cooking or cooling.
Why Food-Grade Salt Matters?
Always choose a Himalayan salt block labeled:
- Food grade
- Culinary grade
- Cooking safe
These blocks are specially prepared for kitchen use and are safer for direct food contact.
Decorative salt lamps or non-food-grade blocks should never be used for cooking.
Best Source for Himalayan Pink Salt
Many high-quality salt blocks come from the famous Khewra Salt Mine in Pakistan, one of the world’s oldest and largest salt mines.
Pink Himalayan salt from this region is known for:
- Better purity
- Natural mineral content
- Stronger structure
- Consistent coloring
Cheaper low-quality blocks may contain more weak spots and break faster over time.
Choosing the Right Pink Salt Grains
Pink salt grains come in different sizes, and each type works best for different cooking styles.
Coarse Pink Salt
Coarse grains are best for:
- Finishing dishes
- Garnishing food
- Salt grinders
- Adding crunch and texture
These crystals dissolve slowly and create a stronger finishing touch.
Fine Pink Salt
Fine pink salt works well for:
- Baking
- Sauces
- Marinades
- Everyday seasoning
It blends smoothly into recipes and dissolves quickly during cooking.
What to Look for in a Salt Grinder?
Pink Himalayan salt is harder than regular table salt, so not every grinder works well.
Best Grinder Features
- Ceramic grinding mechanism
- Stainless steel parts
- Adjustable grind settings
- Moisture-resistant design
Cheap plastic grinders may wear out quickly because pink salt crystals are naturally dense and strong.
Helpful Buying Tips for Beginners
If you are new to pink salt cooking, start simple.
Beginner Essentials
- One medium-sized Himalayan salt block
- Coarse pink salt for finishing
- Fine pink salt for everyday cooking
- A strong ceramic grinder
This setup gives you flexibility without spending too much money upfront.
Avoid These Common Buying Mistakes
Buying Very Thin Salt Blocks
Thin slabs may crack faster and hold heat poorly.
Choosing Decorative Salt Products
Some pink salt products are made only for display, not cooking.
Ignoring Storage Needs
Salt naturally absorbs moisture, so always store grains and blocks in dry places.
Final Buying Advice
Investing in good-quality Himalayan salt tools makes cooking easier and helps your products last longer. A strong salt block, quality pink salt grains, and a durable grinder can improve both flavor and cooking performance in everyday meals.
FAQ:
1. What is Pink Salt Cooking 101?
Pink Salt Cooking 101 is a beginner-friendly guide to using Himalayan pink salt in everyday cooking. It explains how to use salt blocks and pink salt grains safely and effectively. The focus is on improving flavor, texture, and cooking results in simple ways. It also helps users understand proper techniques, safety tips, and best practices.
2. How do you use a Himalayan pink salt block for cooking?
A Himalayan salt block is used by slowly heating it and then cooking food directly on its surface. Foods like scallops, shrimp, and steak are placed on the hot block to create a natural sear. The block adds a light salty flavor while cooking evenly. Always heat it slowly to avoid cracking and ensure safe use.
3. What foods can you cook on a pink salt block?
You can cook a variety of foods on a pink salt block, especially proteins and vegetables. Popular options include seafood, chicken, steak, and sliced vegetables. Fruits like pineapple or peaches can also be grilled for a sweet flavor. The key is to use dry ingredients for the best sear and texture.
4. What is the difference between pink salt block and pink salt grains?
A pink salt block is mainly used for cooking and serving food, while pink salt grains are used for seasoning. The block provides heat and a light salty flavor during cooking. In contrast, grains are used as a finishing salt to add crunch and taste after cooking. Both forms serve different purposes in the kitchen.
5. Is Himalayan pink salt healthier than regular salt?
Himalayan pink salt contains trace minerals that give it a natural color and mild flavor. However, it is still mostly sodium chloride, just like regular salt. The main benefit is its taste and natural processing, not major health differences. It should still be used in moderation like any other salt.
6. How do you clean a Himalayan salt block safely?
To clean a salt block, let it cool completely first. Then gently scrape off food using a plastic scraper and wipe it with a damp cloth. Never use soap or soak it in water because salt dissolves easily. After cleaning, dry it on low heat to remove moisture and prevent damage.
7. Why is Pink Salt Cooking 101 useful for beginners?
Pink Salt Cooking 101 helps beginners understand how to use Himalayan salt correctly without damaging it. It explains safety steps, cooking methods, and buying tips in simple language. This makes it easier to get consistent and tasty results. It also helps users avoid common mistakes like overheating or improper cleaning.
Conclusion
Pink Salt Cooking 101 shows that cooking with Himalayan salt is both simple and rewarding when you understand the basics. From using a salt block for searing to finishing dishes with coarse pink salt grains, each method adds unique flavor, texture, and creativity to your meals. The key takeaway is to focus on proper preparation, safe heating, and choosing the right type of pink salt for each cooking purpose.
With these easy techniques, you can confidently upgrade everyday recipes at home. Try experimenting with different foods and discover how pink salt can transform your cooking experience.
Related Articles You May Like: My Mix Recipes